
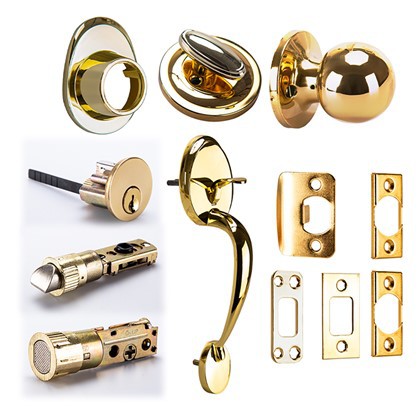
1. Determine the direction of door opening. Generally, doors have four opening directions, namely left outside, left inside, right inside, and right outside. Confirm the direction of the door before installation to avoid reverse installation.
2. Adjust the positive and negative positions of the latch bolt according to the direction of door opening.
Some products have the function of left and right reversal. You can change the direction of the latch bolt according to the following steps, and then swap the inner and outer wrench sets to change the direction.
(1) Turn the lock body upside down to make the latch bolt positioning piece leave.
(2) Easily push the latch bolt into the space position, turn 180 degrees and release it, and restore it to change the direction.
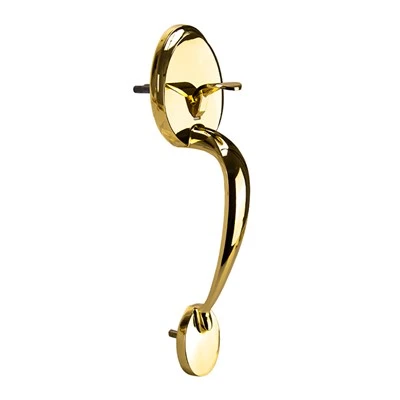
3. Special device handle change
1. The handle part is left and right (as shown in the figure)
2. The handle is divided into left and right (as shown in the figure)
Make a lock body hole with a width, height and depth in the center of the door thickness according to the dimensions marked for different models. In addition, dig a panel hole according to the height dimension of each panel (3MM), and the panel is required to be flush with the door. The position of each hole is in accordance with the dimensions marked on the figure, and it shall not be changed at will or skewed.
Notes
Instructions:
1. Put the lock body into the hole that has been dug, make sure the panel is flush with the door, and install two self-tapping screws.
2. Insert the core into the square hole of the lock body, and expose the same length on both sides.
3. Install the screw and sleeve on the outer handle plate.
4. Align the square core with the outer handle panel.
5. Align the square core with the inner handle panel.
6. Install the screws (do not install too tight).
7. Install the lock core, use the key and knob to adjust the position and the feel of the oblique tongue and square tongue in and out.
8. Install the buckle box and buckle plate corresponding to the lock body position.
Suggestion: After the hole is dug, paint first and then install the lock to avoid affecting the appearance.